Best Hydration Pack Accessories to Buy in July 2026
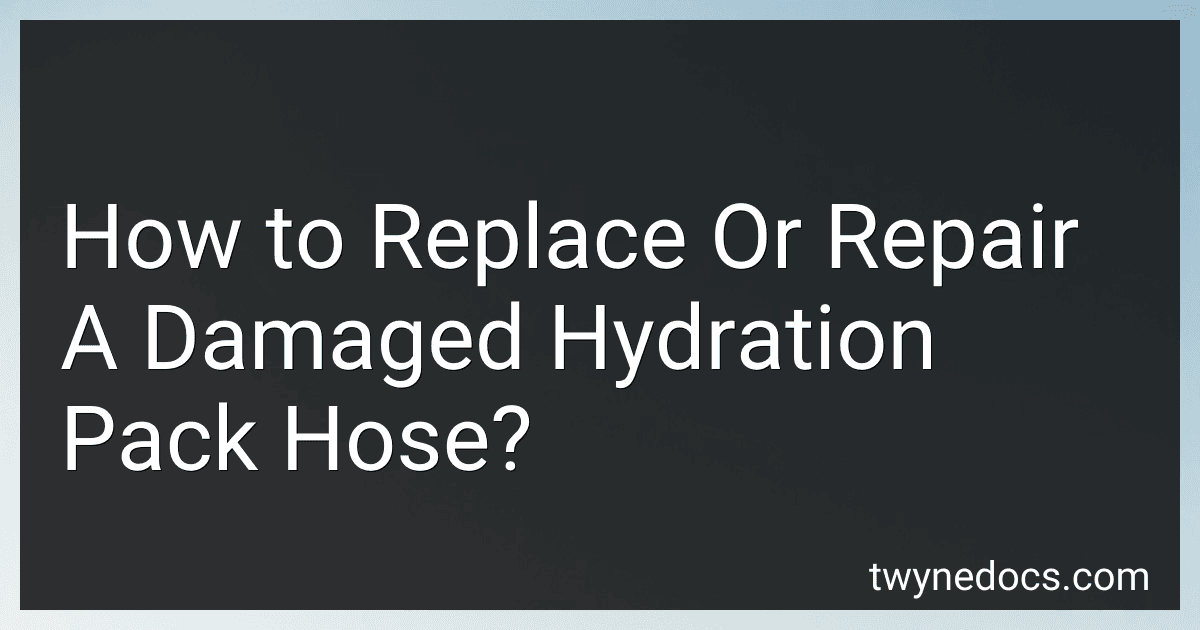
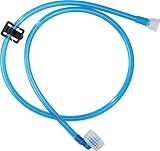
HydraPak HydraFlex Tube - Lightweight Hydration Drink Tube
- ONE-HAND OPERATION: EASY ACCESS WITH SELF-SEALING COMET BITE VALVE.
- QUICK CONNECT: UNIVERSAL ¼ CONNECTOR FOR EFFORTLESS SETUP.
- LIGHTWEIGHT DESIGN: ENHANCE CONVENIENCE FOR ON-THE-GO HYDRATION.


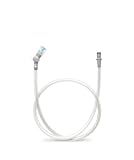
Hydration Bladder, 2L Water Bladder for Hiking Backpack, BPA-Free Leak Proof Water Reservoir Storage Bag, Hydration Pack Replacement for Camping Cycling Running, Military Green
- EASY TO CLEAN: LARGE OPENING ALLOWS HASSLE-FREE FILLING AND CLEANING.
- PREMIUM QUALITY: DURABLE DESIGN ENSURES A CLEAN TASTE AND LONG LIFESPAN.
- LEAKPROOF & PORTABLE: SECURE SEALING FOR MESS-FREE HYDRATION ON-THE-GO.
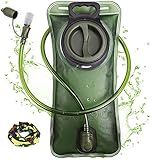
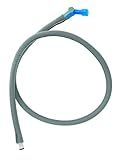
Osprey Reservoir Hose Kit
-
FAST WATER FLOW: BOOST EFFICIENCY WITH QUICK HYDRATION ON-THE-GO.
-
FOOD-SAFE MATERIALS: CERTIFIED BPA-FREE FOR SAFE DRINKING.
-
FLEXIBLE DESIGN: COMPATIBLE WITH HYDRAULICS RESERVOIR & BITE VALVE.
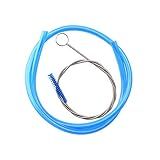
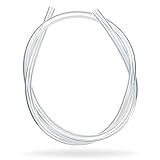
J.CARP High Flow Replacement Tube, with Tube Cleaner Brush, for Hydration Reservoirs
- UNIVERSAL WATER TUBE FITS ALL MAJOR BRANDS FOR VERSATILE USE.
- FLEXIBLE LONG BRUSH CLEANS EVERY CORNER OF THE TUBE EFFORTLESSLY.
- 38.5-INCH LENGTH ENSURES DEEP CLEANING FOR OPTIMAL PERFORMANCE.
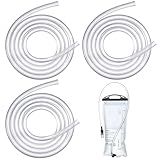
Pangda 3 Pcs Hydraulics Reservoir Hose Replacement Hydration Non Kinking Drink Tube 59 Inches Long Drinking Tubes Bite Bottle Water Bladder Hose for Sports Bladder Backpack System Packs
-
DURABLE SILICONE TUBING ENSURES RELIABILITY FOR ALL OUTDOOR ADVENTURES.
-
COMPATIBLE WITH MOST WATER BAGS FOR VERSATILE HYDRATION OPTIONS.
-
EASY INSTALLATION AND LIGHTWEIGHT DESIGN FOR ON-THE-GO CONVENIENCE.
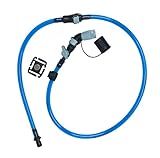
Replacement Drink Tube Replacement Set wih VYPR Bite Valve. Universally Compatible with Most Hydration Packs/Reservoirs/Bladders. 1/4" Inner Diameter Tubing. 43" Total Length.
- UPGRADE YOUR HYDRATION: FITS MOST PACKS & ENHANCES FLOW!
- LEAK-PROOF 360° BITE VALVE FOR EFFORTLESS SIPPING ON THE GO.
- QUICK DISCONNECT & MAGNETIC RETAINER FOR CONVENIENCE AND EASE!
Hydrapak Hydrafusion, Insulated Hydration Tube - Warm Weather
- STAY HYDRATED: INSULATED TUBE FOR TOUGH CONDITIONS & HOT WEATHER.
- QUICK & EASY: HIGH FLOW VALVE OPERATES WITH ONE HAND AND LOCKS.
- SAFE & DURABLE: 100% BPA-FREE PLUS LIFETIME REPAIR OR REPLACEMENT!
Platypus Hoser Hydration System Drink Tube Kit
- BOOST FLOW RATE BY 30% WITH HYFLO BITE VALVE FOR QUICKER HYDRATION!
- COMPLETE KIT INCLUDES EVERYTHING NEEDED FOR SEAMLESS UPGRADE!
- DURABLE, USA-MADE COMPONENTS ENSURE RELIABILITY ON EVERY ADVENTURE!
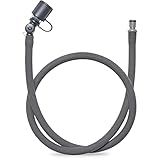
CamelBak Crux & Fusion Reservoir Accessory - Insulated Tube - Grey/Blue - One Size
- QUICK LINK SYSTEM FOR EFFORTLESS ATTACHMENT AND DETACHMENT.
- PATENTED BIG BITE VALVE ENABLES HANDS-FREE HYDRATION ANYWHERE.
- LIFETIME GUARANTEE ENSURES YOUR INVESTMENT IS WORRY-FREE.
To replace or repair a damaged hydration pack hose, follow these simple steps:
- Start by removing the reservoir from your hydration pack. Empty any remaining liquid and detach the hose from the pack.
- Examine the damaged hose closely to identify the exact location of the damage. It could be a puncture, leak, or a crack.
- If the damage is a small puncture or leak, you can attempt to repair it using a hose repair kit. These kits usually include adhesive patches that can be applied to seal the hole. Clean the area around the puncture thoroughly and let it dry. Apply the adhesive patch to cover the hole, ensuring it is firmly secured and fully covers the damaged area. Allow ample time for the adhesive to set and dry.
- If the damage is extensive or unable to be repaired, it's best to replace the hose entirely.
- To replace the hose, purchase a new hydration pack hose that matches the length and diameter of your old one.
- With the old hose removed from the reservoir, attach the new hose securely in its place. Some hoses might screw on, while others use a quick-release mechanism. Follow the manufacturer's instructions if available.
- Once the new hose is properly attached, insert the reservoir back into your hydration pack. Ensure it is fitted securely to prevent any leaks or accidental detachment.
- Test the new or repaired hose by filling the reservoir with water and checking for any leaks. If there are no leaks, you're all set to use your hydration pack again!
Remember to regularly clean and maintain your hydration pack, including the hose, to keep it in good condition and avoid future damage.
How to troubleshoot leakage issues with a hydration pack hose?
Troubleshooting leakage issues with a hydration pack hose involves identifying and fixing potential sources of leaks. Here are some steps to follow:
- Check the connections: Start by checking the connections of the hydration hose to the bladder and the bite valve. Ensure they are securely attached and properly tightened. If loose, tighten them, being careful not to overtighten and strip the threads.
- Inspect the bite valve: Examine the bite valve for any signs of damage or wear. O-rings or seals may become worn over time, leading to leaks. If damaged, replace the bite valve with a new one.
- Look for holes or punctures: Carefully inspect the length of the hose for any holes, punctures, or visible damage. If you find any, mark the damaged area or cut out the affected section and replace it with a hose repair kit or a new hose.
- Clean the bite valve: Sometimes, leakage can occur due to dirt or debris obstructing the bite valve, preventing it from fully sealing. Disassemble the bite valve (if possible) and clean all the components thoroughly. Reassemble and test for leaks.
- Check for internal blockages: If the water flow is reduced or nonexistent, there may be an internal blockage. Detach the bite valve and blow air through the hose to clear any obstructing debris. Alternatively, use a cleaning brush or a pipe cleaner to clean the interior of the hose.
- Lubricate the O-rings: If the O-rings appear dry, apply a small amount of food-grade silicone lubricant to ensure a better seal. This can help prevent leaks.
- Test for leaks: After troubleshooting and making necessary repairs or adjustments, fill the hydration bladder with water and test for leaks. Squeeze the bite valve to check for any leakage. If you find any, repeat the previous steps until resolved.
Remember, regular cleaning and maintenance of your hydration pack can help prevent leakage issues before they arise.
How to remove mold or mildew from a hydration pack hose?
To remove mold or mildew from a hydration pack hose, you can follow these steps:
- Start by detaching the hose from the hydration pack. This will allow you to access and clean it more effectively.
- Rinse the hose with hot water to remove any loose dirt or debris.
- Fill a basin or sink with a mixture of warm water and mild dish soap. You can also add a tablespoon of white vinegar to enhance the cleaning properties.
- Submerge the hose in the soapy water and use a bottle brush or long, flexible brush to scrub the inside of the hose thoroughly. Pay extra attention to areas that may be susceptible to mold growth, such as where the hose bends or connects to the hydration pack.
- If there are any stubborn mold or mildew stains, you can create a paste of baking soda and water and apply it directly to these areas. Leave the paste on for a few minutes before scrubbing it off.
- After thoroughly cleaning the hose, rinse it with warm water to remove any soap or baking soda residue.
- To ensure all mold or mildew is eliminated, fill the hose with a mixture of one part water and one part white vinegar. Let this solution sit in the hose for 20-30 minutes to kill any remaining mold spores.
- After the vinegar solution, rinse the hose once again with hot water to remove any lingering vinegar smell.
- Hang the hose to air dry completely before reattaching it to the hydration pack.
It's important to regularly clean and sanitize your hydration pack hose to prevent the growth of mold or mildew, as well as to maintain proper hygiene and avoid any health issues.
How to identify a damaged hydration pack hose?
There are several ways to identify a damaged hydration pack hose. Here are a few steps you can follow:
- Visual inspection: Look for any visible signs of damage such as cuts, tears, or punctures on the hose. Check the entire length of the hose, including the ends where it connects to the reservoir and the bite valve.
- Leaks: Fill the reservoir with water and check for any leaks. Squeeze the hose to see if water starts dripping or spraying from any section. If you notice water leaking through the hose, there may be a crack or hole.
- Flexibility: A damaged hose may lose its flexibility. Gently bend the hose and check if it is still supple and able to return to its original shape. If the hose feels stiff or retains bends, it may be compromised.
- Functionality: Test the flow of water through the hose by sucking on the bite valve. If you find it difficult to get water or if there is reduced flow compared to before, it may indicate a damaged hose.
- Mold or mildew: Inspect for the presence of mold or mildew inside the hose. Damaged hoses may retain moisture or develop mold growth if not properly cleaned and dried after use.
If you observe any of these signs, it is likely that your hydration pack hose is damaged and needs to be replaced.