Best Video Editing Tools to Buy in July 2026
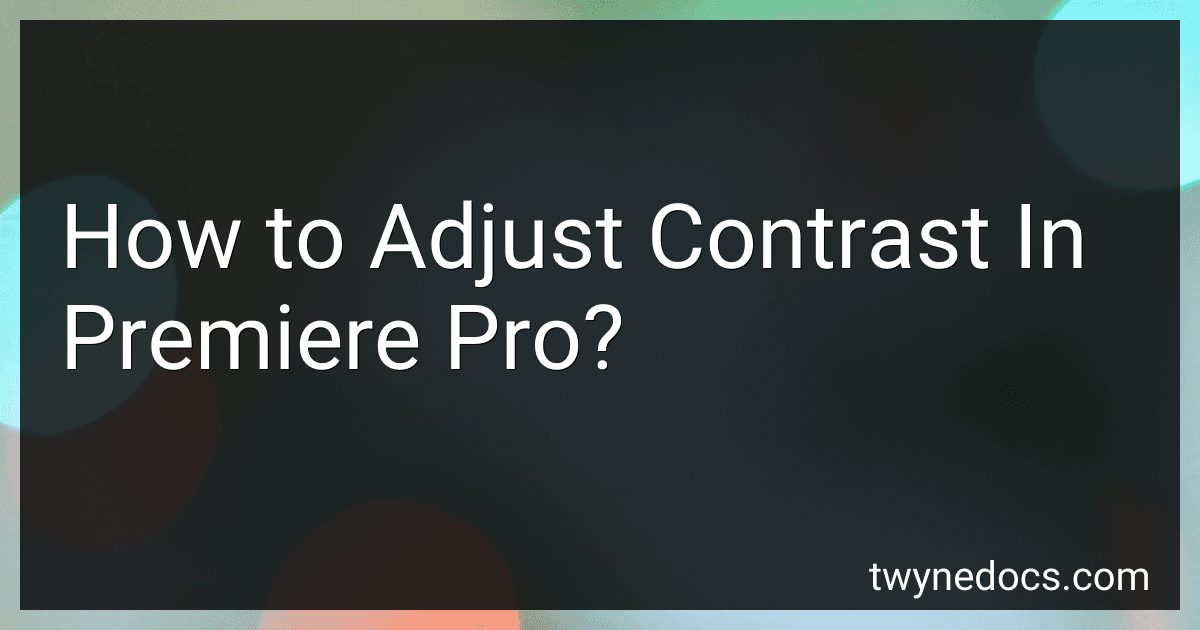
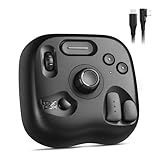
XPPen Mini Keydial ACK05 Wireless Shortcut Keyboard Bluetooth Programmable Express Remote Control with Dial & Customized Express Keys for Drawing Tablet PC MacBook Windows Images Video Editing
-
FLEXIBLE CONNECTIVITY: EASILY SWITCH BETWEEN BLUETOOTH, USB, & DONGLE.
-
LONG BATTERY LIFE: ENJOY UP TO 300 HOURS OF CONTINUOUS USAGE!
-
CUSTOM SHORTCUTS: ASSIGN 40 SHORTCUTS FOR SEAMLESS PRODUCTIVITY!


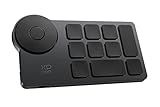
Logitech MX Creative Console, 9 Customizable LCD Keys, Stream Deck Accessories, Control Dial for Graphic Design, Adobe, Zoom, Spotify - Graphite, 3-Month Adobe Creative Cloud Membership
-
STREAMLINE YOUR WORKFLOW: ACCESS TOOLS INSTANTLY WITH LOGITECH MX CONSOLE.
-
FULLY CUSTOMIZABLE: PERSONALIZE 15 KEYPAD PAGES & LCD ICONS EFFORTLESSLY.
-
FREE ADOBE CLOUD OFFER: GET 3 MONTHS OF ADOBE CREATIVE CLOUD INCLUDED!
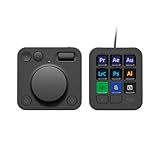
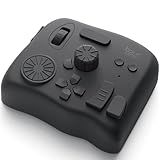
TourBox NEO - Customizable Editing Controller, Photo Color Grading Illustration Speed Editor, Intuitive Control Boost Productivity, Programmable Keyboard for Adobe CSP and More, Works with Mac/PC
-
ZERO-LATENCY PERFORMANCE: ENJOY STABLE, WIRED CONNECTION FOR SEAMLESS CREATIVITY.
-
COMPREHENSIVE SOFTWARE SUPPORT: EFFORTLESSLY INTEGRATE WITH TOP CREATIVE APPS.
-
USER-FRIENDLY CONTROLS: SIMPLIFY EDITING TASKS FOR BOTH BEGINNERS AND PROS.
TourBox Lite - Editing Keyboard Compact, Artists Go-to Drawing Macro Keypad, Works with Clip Studio Paint & More, Creative Controller with Custom Software, Streamline All Workflows - Wired (Unit Only)
-
BOOST CREATIVITY: MASTER 200+ FUNCTIONS WITH EYE-FREE CONTROL.
-
EFFORTLESS LEARNING: 98% OF USERS MASTER IT WITHIN 7 DAYS-NO STEEP CURVE!
-
VERSATILE COMPATIBILITY: WORKS WITH ALL MAJOR CREATIVE SOFTWARE SEAMLESSLY.
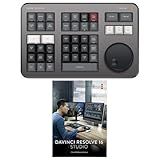
Blackmagic Design Davinci Resolve Speed Editor Bundle with Davinci Resolve 18 Studio (Activation Card)
- COMPACT DESIGN WITH BUILT-IN BATTERY FOR ON-THE-GO EDITING.
- EFFORTLESS NAVIGATION WITH BUILT-IN SEARCH DIAL FOR QUICK ACCESS.
- SEAMLESS CONNECTIVITY OPTIONS AND FREE DAVINCI RESOLVE 17 INCLUDED.
TourBox Elite - Bluetooth Video Editing Controller Color Grading Speed Editor, Intuitive Control, Professional Digital Creator Console for Davinci, Premiere, Final Cut Pro and More, Mac/PC (Black)
-
DUAL CONNECTIVITY: SEAMLESSLY CONNECT VIA BLUETOOTH OR USB-C.
-
EXTENSIVE SOFTWARE SUPPORT: COMPATIBLE WITH TOP CREATIVE TOOLS LIKE PHOTOSHOP.
-
FULLY CUSTOMIZABLE CONTROLS: TAILOR EVERY KNOB AND BUTTON TO YOUR WORKFLOW.

TOUR BOX Elite Plus - iPad Drawing Bluetooth Controller, Video Editing Photo Color Grading Speed Editor, Programmable Creative Console Keyboard for DaVinci Procreate Adobe Softwares and More
-
ONE DEVICE, THREE SCENARIOS: SEAMLESS USE ON IPAD, MAC, AND WINDOWS.
-
BOOST CREATIVE WORKFLOW: SPEED UP DIGITAL PAINTING, VIDEO, AND PHOTO EDITING.
-
ERGONOMIC & EFFICIENT: INCREASE DRAWING EFFICIENCY BY 170% WITH LESS FATIGUE.
To adjust contrast in Premiere Pro, follow these steps:
- Launch Adobe Premiere Pro and open the project you want to work on.
- Import your video clips or images into the project.
- Drag the clip or image you want to adjust onto the timeline.
- Select the clip or image by clicking on it in the timeline.
- Go to the "Effects Controls" panel, which can usually be found on the right side of the screen.
- Locate the "Lumetri Color" section within the "Effects Controls" panel.
- Click on the triangle to expand the "Lumetri Color" section and reveal the various color adjustment options.
- To adjust the contrast, locate the "Contrast" option within the "Lumetri Color" section.
- Drag the "Contrast" slider to the right to increase the contrast or to the left to decrease it.
- Preview the changes in real-time by playing the clip or image in the preview window or timeline.
Remember that adjusting the contrast can significantly impact the overall look and feel of your video. It's recommended to make gradual adjustments and carefully observe the outcomes to achieve the desired result.
How to adjust contrast using color curves in Premiere Pro?
To adjust contrast using color curves in Premiere Pro, follow these steps:
- Open Premiere Pro and import your footage.
- Drag the footage to the timeline.
- Double-click on the footage in the timeline to open it in the source monitor.
- Go to the "Effects" tab and search for "Lumetri Color."
- Drag the "Lumetri Color" effect onto the footage in the timeline.
- In the "Effect Controls" panel, click on the "Creative" section to reveal the "Curves" adjustment.
- Click on the drop-down arrow next to the "Curves" adjustment to expand it.
- By default, the "Curves" adjustment will be set to "Master," which affects the overall contrast of the image.
- To adjust the contrast, select the "Master" curve and create an anchor point in the middle of the curve by clicking on it.
- Drag the anchor point upwards to increase the contrast or downwards to decrease the contrast.
- You can also adjust specific color channels by selecting them from the drop-down menu above the curve.
- To adjust a specific color channel's contrast, create an anchor point on the curve and drag it to the desired position.
- Continue adjusting the curve for each color channel until you achieve the desired contrast.
- You can create additional anchor points on the curve to fine-tune the contrast further if needed.
- Play back the footage to see the changes in real-time.
- Once you're satisfied with the contrast adjustments, you can further refine the color grading using other Lumetri Color controls if necessary.
- When you're done, export or render your footage to apply the contrast adjustments.
Remember to experiment with the curves and color channels to achieve the desired contrast and color grading effects.
How to adjust contrast for a time-lapse video in Premiere Pro?
To adjust the contrast for a time-lapse video in Premiere Pro, you can follow these steps:
- Import your time-lapse video into the Premiere Pro timeline.
- Select the video clip on the timeline by clicking on it.
- Go to the "Effects Controls" panel, which should be located in the top-left corner by default.
- Click on the "Effect Controls" tab.
- Expand the "Video Effects" folder by clicking on the triangle next to it.
- Scroll down and find the "Lumetri Color" effect. Drag and drop it onto the video clip.
- Once the Lumetri Color effect is applied to the clip, go to the "Effect Controls" panel.
- Locate the "Basic Correction" section within the Lumetri Color effect.
- Use the "Contrast" slider to adjust the contrast of your time-lapse video. Moving the slider to the right will increase the contrast, while moving it to the left will decrease it.
- Keep adjusting the contrast until you achieve the desired look for your time-lapse video.
- You can also experiment with other options within the Lumetri Color effect, such as exposure, saturation, and highlights, to further enhance the visual quality of your video.
- Once you are satisfied with the contrast adjustment, export or render your time-lapse video with the new settings.
Remember to preview the changes in real-time to ensure it meets your expectations before exporting the final video.
How to achieve a high contrast black and white effect in Premiere Pro?
To achieve a high contrast black and white effect in Premiere Pro, follow these steps:
- Import your video footage into Premiere Pro by clicking on "File" and selecting "Import."
- Drag and drop the footage into the timeline.
- Select the footage by clicking on it, and then click on the "Effects Control" panel.
- In the "Effects Control" panel, click on the "Lumetri Color" tab to open the color correction options.
- Scroll down and find the "Creative" section. Under "Creative," you will see a dropdown menu for "Look."
- Click on the dropdown menu and select "Black and White." This will turn your footage into black and white.
- To add high contrast to the black and white footage, adjust the "Contrast" slider under the "Basic Correction" section. Increase the value to make the blacks darker and the whites brighter.
- You can further enhance the contrast by adjusting the "Highlights" and "Shadows" sliders. Moving the "Highlights" slider to the left will darken the brighter areas, and moving the "Shadows" slider to the right will darken the darker areas.
- Make sure to play back the footage to see the changes in real-time. Adjust the sliders as needed until you achieve the desired high contrast black and white effect.
- Once you are satisfied with the effect, you can export the video by clicking on "File" and selecting "Export" or by using the shortcut "Ctrl+M." Choose your desired export settings and destination, and click "Export" to save the video.
How to adjust contrast for a specific portion of a video in Premiere Pro?
To adjust contrast for a specific portion of a video in Premiere Pro, you can follow these steps:
- Import your video clip into the Premiere Pro timeline.
- Position the playhead at the beginning of the portion you want to adjust.
- Use the "Razor Tool" (C) or the "Selection Tool" (V) to cut the clip at the desired start and end points of the portion.
- Right-click on the portion you want to adjust and select "Nest" from the drop-down menu. This will create a nested sequence containing only the selected portion.
- Double-click on the nested sequence to open it in a new timeline.
- With the nested sequence timeline active, go to the "Effects" panel and search for the "Lumetri Color" effect. Drag and drop this effect onto the nested sequence.
- Select the nested sequence in the timeline and navigate to the "Effect Controls" panel.
- In the "Effect Controls" panel, navigate to the "Lumetri Color" effect and expand it.
- Adjust the contrast of the selected portion by modifying the "Contrast" slider.
- Playback and preview the adjustments to ensure they match your desired look.
- Once satisfied, exit the nested sequence and return to the main timeline.
- If needed, repeat the process for other sections of the video that require contrast adjustments.
Remember to save your project regularly to avoid losing any progress.
How to adjust overall contrast in Premiere Pro?
To adjust the overall contrast in Premiere Pro, you can use the Lumetri Color panel. Here's how you can do it:
- Open Premiere Pro and import your footage into the project.
- Select the clip or the sequence you want to adjust.
- Go to the Color workspace by clicking on the Color tab at the top of the program window.
- Locate the Lumetri Color panel on the right side of the screen. If you don't see it, go to Window > Lumetri Color to open it.
- In the Lumetri Color panel, you will find several adjustments, such as Exposure, Contrast, Highlights, Shadows, etc.
- To adjust the overall contrast, you can use the Contrast slider. Drag it to the right to increase contrast or to the left to decrease it.
- While adjusting, you can also refer to the Program Monitor to preview the changes in real-time.
- Fine-tune the contrast by adjusting other parameters like Highlights and Shadows to achieve the desired look.
- If you want to apply the same adjustment to multiple clips, you can copy the lumetri effect from one clip and paste it to others by selecting the effect control tab (red tab) and right-clicking on the Lumetri Color effect and choosing "Copy." Then, select the other clips and choose "Paste" to apply the same effect.
- Once you are satisfied with the contrast adjustment, you can continue editing or export your video with the new settings.
Remember to save your project regularly to avoid losing your progress.
What is the role of contrast adjustment in emphasizing details in Premiere Pro?
The role of contrast adjustment in Premiere Pro is to enhance the difference between the light and dark areas of the footage. By increasing the contrast, the shadows become darker and the highlights become brighter, providing more definition and depth to the details in the image. This adjustment is particularly useful for emphasizing fine textures, enhancing sharpness, and making the footage more visually appealing. It can also help separate subjects from their backgrounds, making them stand out more prominently.
How to simulate a vintage look by adjusting contrast in Premiere Pro?
To simulate a vintage look by adjusting contrast in Premiere Pro, follow the steps below:
- Import your footage: Open Premiere Pro and create a new project. Import the footage you want to apply the vintage look to by either dragging the files into the project panel or using the "Import" command under the "File" menu.
- Create an adjustment layer: Right-click anywhere in the project panel and choose "New Item" > "Adjustment Layer". This will create a new adjustment layer in the project panel.
- Apply the adjustment layer: Drag the adjustment layer from the project panel onto the timeline, above the footage you wish to apply the vintage look to. This adjustment layer will now affect all the layers below it.
- Apply the "Curves" effect: Select the adjustment layer in the timeline, then go to the "Effects" panel and search for the "Curves" effect. Drag and drop the "Curves" effect onto the adjustment layer in the timeline.
- Adjust the curve: With the adjustment layer selected, go to the "Effects Controls" panel. Locate the "Curves" effect and click on the stopwatch icon next to the "RGB Composite" property. This will enable keyframing for the effect.
- Create a vintage curve: In the "Curves" effect controls, you will see a diagonal line representing the current curve. To create a vintage look, adjust this line to create a subtle "S" shape. Drag the bottom-left corner of the line slightly upwards and the top-right corner slightly downwards. This will increase the shadows and highlights, giving a vintage feel.
- Fine-tune the curve: You can further customize the curve by adding additional keyframes and adjusting them to achieve the desired vintage look. Adding more points and playing around with their positions will create different effects.
- Adjust the blend mode: In the "Effect Controls" panel, you can experiment with the blend mode of the adjustment layer by clicking on the drop-down menu under "Blend Mode". Choose a mode that gives your footage the desired vintage appearance, such as "Overlay" or "Soft Light".
- Adjust opacity: If the vintage effect appears too strong, you can lower the opacity of the adjustment layer in the "Effect Controls" panel to make it more subtle and blend it with the original footage.
- Preview and export: Finally, preview the vintage look by playing the sequence in the timeline. If you're satisfied with the outcome, you can export the footage with the vintage effect applied by going to "File" > "Export" > "Media" and adjusting the export settings according to your requirements.
Remember, experimenting with different adjustments and settings will help you achieve the exact vintage look you desire.
How to adjust contrast for a specific color channel in Premiere Pro?
To adjust contrast for a specific color channel in Adobe Premiere Pro, you can use the "RGB Curves" effect. Follow these steps:
- Import your footage into Premiere Pro and place it on the timeline.
- Go to the Effects panel and search for "RGB Curves". Drag and drop the effect onto your footage on the timeline.
- In the Effect Controls panel, scroll down to the section for the RGB Curves effect.
- By default, it will adjust the RGB channels together. To adjust a specific color channel, click on the drop-down menu next to "Channel" and choose the desired channel (Red, Green, or Blue).
- In the Curves graph, you can adjust the contrast by manipulating the curve of the selected color channel. Drag the points on the diagonal line to adjust the contrast. If you want to increase contrast, add a point in the Shadows area and drag it upwards, then add another point in the Highlights area and drag it downwards. If you want to decrease contrast, add a point in the Shadows area and drag it downwards, then add another point in the Highlights area and drag it upwards.
- Repeat the process for other color channels if needed.
- Fine-tune the adjustments and preview the results in the Program Monitor.
- Once you are satisfied with the adjustments, you can render and export your footage with the new contrast settings.
What is the impact of contrast adjustment on skin tones in Premiere Pro?
Contrast adjustment in Premiere Pro can have a significant impact on skin tones. When increasing the contrast, the darker areas of the image become darker while the brighter areas become brighter. This can lead to a more dramatic and striking look.
When it comes to skin tones, increasing the contrast can result in a more defined and emphasized texture of the skin. Shadows on the face can become more pronounced, highlighting features and creating a more three-dimensional effect. However, excessive contrast adjustment might also lead to exaggerated skin imperfections and a less natural appearance.
On the other hand, decreasing the contrast can result in a softer and more diffused look. Shadows are lifted, reducing the definition of facial features and creating a more gentle appearance. This can help in minimizing skin imperfections or creating a more flattering and even-toned look.
It's important to note that the impact of contrast adjustment on skin tones can vary depending on the specific footage, lighting conditions, and desired result. It's recommended to apply adjustments carefully and make visual assessments to achieve the desired aesthetic while maintaining the natural appearance of the skin.