Best Hydration Pack Leak Repair Kits to Buy in July 2026
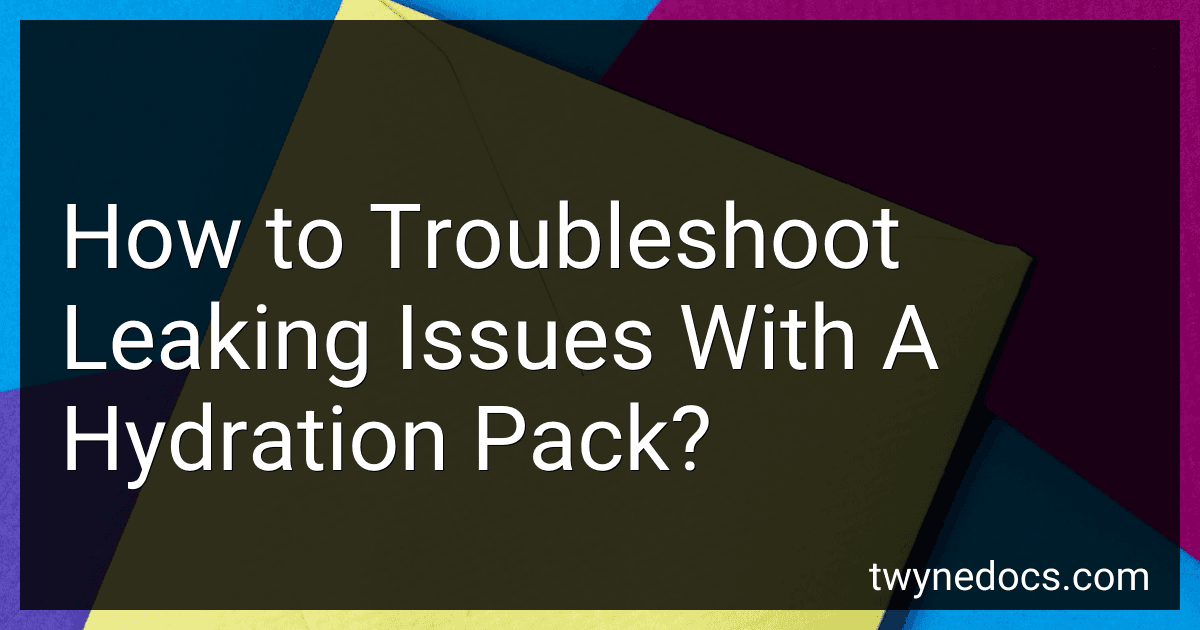
HydraPak Gear Cleaning Kit - Bristle and Wire Tube Brush Set - BPA & PVC Free - Cleans Hydration Reservoirs and Bladders, Water Containers
- COMPREHENSIVE CLEANING: TWO BRUSHES TACKLE ALL WATER CONTAINER TYPES.
- VERSATILE DESIGN: BENDABLE WIRE BRUSH REACHES TUBES AND VALVES EASILY.
- LIFETIME WARRANTY: FREE REPAIRS OR REPLACEMENTS ENSURE WORRY-FREE ADVENTURES.


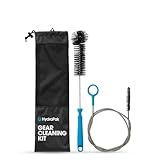
Reservoir Hydration Bladder Cleaning Kit - 6-In-1 Water Reservoir Cleaning Kit Of 3 Brushes, Collapsible Frame, (12) Cleansing Tablets & Carry Pouch - Cleaner Set For Back Pack Bladder
- COMPLETE KIT FOR HASSLE-FREE CLEANING OF HYDRATION BLADDERS.
- DURABLE MATERIALS ENSURE LONG-LASTING USE FOR YOUR GEAR.
- PERFECT GIFT FOR OUTDOOR ENTHUSIASTS TO MAINTAIN HYDRATION HEALTH!
Nail Tek Rescue System – Nail Repair for Damaged Nails, Hydrate, Renew & Strengthen Nails Treatment, Made in Usa, 0.5 Fl Oz Each
- REVIVE DAMAGED NAILS WITH OUR 3-STEP ULTIMATE NAIL REHAB SYSTEM.
- DEEP HYDRATION AND STRENGTH FROM CONCENTRATED, SCIENCE-DRIVEN FORMULAS.
- ACHIEVE LASTING NAIL HEALTH AND RESILIENCE FOR BEAUTIFUL RESULTS.
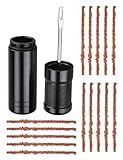
Tubeless Bike Tire Repair Kit for MTB & Road Bicycles - Quick Repair for Punctures & Flats, Includes Storage Canister, Plugger Tool & 15 Rubber Repair Strips, Essential Bicycle Tyre Repair Tool Set
-
UNIVERSAL COMPATIBILITY: FIX MTB, ROAD, E-BIKES, & MORE QUICKLY!
-
EASY PATCH-FREE OPERATION: SIMPLE PLUG & INFLATE DESIGN FOR FAST REPAIRS.
-
COMPLETE, DURABLE KIT: INCLUDES EVERYTHING YOU NEED FOR RELIABLE FIXES!
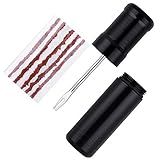
Tubeless Bike Tire Repair Kits,for Road Bicycle and Mountain Bike MTB Tires Fix a Puncture or Flat, Includes Storage Canister Plugger Tool with Plugs, 5 Bacon Strips
-
QUICK & EASY REPAIRS: PLUG LEAKS SWIFTLY; NO PATCHES NEEDED!
-
VERSATILE COMPATIBILITY: WORKS ON ALL BIKE TYPES AND ATVS.
-
COMPACT TOOL: LIGHTWEIGHT, DURABLE STORAGE CAPSULE FOR EASY TRANSPORT.
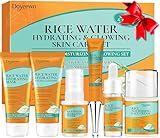
Skin Care Set,6Pcs Women Teen Glass Skincare w/Korean Rice Extract,Hydrate Glow Repair Anti-Aging Facial Routine Kit Self Care Gifts for Women Mom Wife Teenage Girl Her Valentines Day Christmas Gifts
-
COMPLETE 6-PIECE SET: ALL-IN-ONE ROUTINE FOR RADIANT GLASS SKIN!
-
GENTLE RICE WATER FORMULA: EFFECTIVE CLEANSING WITHOUT STRIPPING MOISTURE.
-
PERFECT GIFT IDEA: TRAVEL-FRIENDLY SET FOR EVERY SKINCARE ENTHUSIAST!
When faced with leaking issues with a hydration pack, there are several steps you can take to troubleshoot and resolve the problem. Start by examining the hydration pack and identifying the source of the leak. Common areas prone to leakage include the mouthpiece, hose connections, and the bladder itself.
Begin by inspecting the mouthpiece. Check if the valve is properly closed and ensure there are no obstructions or debris preventing it from sealing tightly. If the mouthpiece is damaged or worn out, it may need to be replaced.
Next, examine the hose connections. Ensure they are tightened securely to prevent any leaks. Sometimes, the O-rings or gaskets within the connections may need to be replaced if they are worn out or damaged.
If you find that the bladder itself is leaking, remove it from the hydration pack and inspect it carefully. Look for any punctures, tears, or holes. Be thorough in your inspection, as small leaks can sometimes be hard to spot. If you locate a leak, you can attempt to patch it up using a hydration pack repair kit or a suitable adhesive. Alternatively, if the bladder is extensively damaged, it may need to be replaced entirely.
Before concluding your troubleshooting, make sure the hydration pack is filled correctly and not overfilled. Overfilling can put excessive pressure on the bladder and cause leaks. Also, check that all components are properly aligned and connected to avoid any unnecessary stress on the hydration pack.
After completing these steps, test the hydration pack to determine if the leak has been resolved. Refill it with water and cautiously inspect for any signs of new leakage. If the problem persists, it may be worth consulting the manufacturer or contacting customer support for further assistance or to explore the option of warranty coverage.
Remember to regularly clean and maintain your hydration pack to prolong its lifespan and minimize the chances of leaks.
What is the best approach to handle leaks in a pressurized hydration pack?
When dealing with leaks in a pressurized hydration pack, it is important to identify and address the issue promptly to prevent further damage and ensure the proper functioning of the pack. Here is the best approach to handle leaks in a pressurized hydration pack:
- Assess the problem: Start by examining the hydration pack to locate the source of the leak. Check all the connections, valves, hoses, and seams for any visible damage or signs of wear.
- Empty the pack: Release the pressure and empty the hydration pack completely to prevent any further leakage and to make it easier to identify the problem area.
- Identify the source of the leak: Once the pack is emptied, inspect it thoroughly to pinpoint the exact location of the leak. It could be a cracked valve, a damaged hose, a loose connection, or a puncture in the bladder.
- Fix minor leaks: If the leak is minor, such as a loose connection or a small puncture, you may be able to fix it yourself. Use appropriate tools like pliers or a screwdriver to tighten loose connections or replace damaged valves or hoses. For small punctures, apply a patch or use a sealant specifically designed for hydration packs.
- Replace damaged parts: If the leak is beyond repair or the damage is severe, it is recommended to replace the damaged part altogether. Check the manufacturer's website or contact customer support to order genuine replacement parts that are compatible with your hydration pack model.
- Test the repaired pack: After fixing the leak, reassemble the hydration pack and perform a thorough test. Fill it with water, pressurize it, and check for any signs of leakage. If there are no leaks, you can proceed to use the pack.
- Regular maintenance: To prevent future leaks, it is essential to maintain your hydration pack properly. Rinse and dry it after every use, store it in a cool and dry place, and regularly inspect the pack for any signs of wear or damage.
If you are unsure about repairing the leakage yourself, it is always recommended to consult a professional or contact the manufacturer's customer support for guidance on how to handle the specific issue with your hydration pack.
What should I do if my hydration pack's valve is leaking?
If your hydration pack's valve is leaking, you can try these steps to stop the leak:
- First, empty the water from your hydration pack to prevent any further leaking.
- If possible, detach the valve from the hose carefully. Check if any dirt or debris is causing the leak. Clean the valve and hose with warm water and mild soap.
- Inspect the valve for any signs of damage such as cracks or tears. If you notice any damage, you might need to replace the valve.
- Reassemble the valve back onto the hose, ensuring it is properly fitted and tightened.
- Test the valve by sucking on it gently to check if the leak persists. If it still leaks, proceed to the next steps.
- If the valve continues to leak, you can try using a leak-sealing product specifically designed for hydration packs. Apply a small amount to the valve and hose connection and let it dry. Follow the instructions provided with the product.
- Alternatively, you can contact the manufacturer of your hydration pack to inquire about replacements or repairs. They may be able to provide you with a new valve or suggest a solution to fix the leak.
- In case you need to use the hydration pack immediately and cannot fix the leak, you can consider temporarily using a clip or clamp to seal off the valve and prevent further water leakage. However, this may restrict the flow of water through the hose temporarily.
Remember, properly maintaining and cleaning your hydration pack regularly can help prevent leaks and ensure its longevity.
What is the best way to prevent leaks in a hydration pack?
To prevent leaks in a hydration pack, you can follow these tips:
- Check the seal: Ensure the hydration pack is properly sealed and closed by checking the seal around the cap and hose. Make sure all connections are tight and secure.
- Inspect the hose: Regularly examine the hose for any cracks, leaks, or damage. If you find any, consider replacing it.
- Properly attach the hose: Ensure the hose is properly attached to the bladder and does not have any kinks or bends that can hinder the flow of water or cause leaks.
- Tighten fittings: Make sure all fittings, such as the bite valve and hose connections, are tightened properly. If they become loose, it can result in leaks.
- Clean and maintain regularly: Regularly clean and wash your hydration pack, including the bladder, hose, and bite valve, following the manufacturer's instructions. This helps prevent build-up of bacteria or mold, which can damage the pack and cause leaks.
- Store properly: When not in use, store your hydration pack in a cool, dry place. Avoid exposing it to excessive heat or direct sunlight, as this can weaken the material and potentially cause leaks.
- Use caution when filling: Be careful when filling the bladder with water. Avoid overfilling, as this can put unnecessary pressure on the bladder and increase the chances of leaks. Follow the manufacturer's recommended capacity guidelines.
- Carry upright: When using the hydration pack, carry it upright in your backpack or hydration vest to minimize the chances of accidental pressure on the bladder, which can cause leaks.
By following these preventive measures, you can significantly decrease the likelihood of leaks and ensure a reliable, drip-free hydration experience.