Best Hydration Packs and Accessories to Buy in July 2026
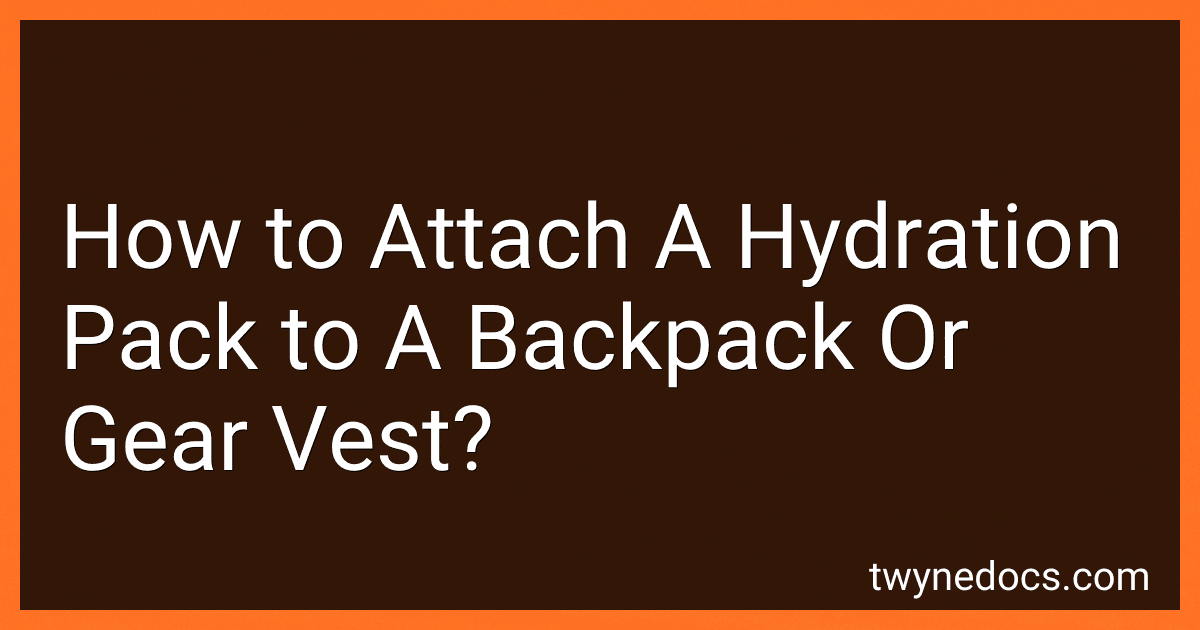
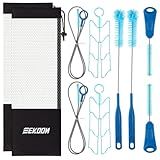
4 Pcs Set Reservoirs Backpack Accessories Hydration Bladder Cleaning Kit with Flexible Long Brush for Hose, Small Bite Valve and Big Brush, Drying Collapsible Bladder Frame, Carrying Pouch (Blue)
-
VERSATILE 5-IN-1 KIT: CLEANS BLADDERS, BOTTLES & TANKS EFFORTLESSLY.
-
FLEXIBILITY IN DESIGN: LONG BRUSHES REACH DIRT IN EVERY CORNER.
-
DURABLE MATERIALS: QUALITY STAINLESS STEEL ENSURES LONG-LASTING USE.


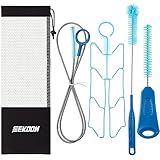
Hydration Bladder, 2L Water Bladder for Hiking Backpack, BPA-Free Leak Proof Water Reservoir Storage Bag, Hydration Pack Replacement for Camping Cycling Running, Military Green
- EASY CLEANING: LARGE OPENING ALLOWS SIMPLE ACCESS FOR POURING & ICE.
- PREMIUM QUALITY: DURABLE, NON-TASTING MATERIAL ENSURES LONG-LASTING USE.
- LEAKPROOF DESIGN: KEEPS YOU HYDRATED WITHOUT ADDING BULK ON ADVENTURES.
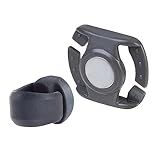
Moxweyeni 3 Pcs Bladder Clip Water Tube Hydration Hose Magnetic Clip Military Backpack Tactical Backpack Accessories Source Hydration Pack Water Bladder Holding Drinking Valve Tube in Place(Black)
-
MULTIPURPOSE FASTENERS: IDEAL FOR ALL OUTDOOR ACTIVITIES, SHARE WITH FAMILY.
-
MAGNET DESIGN: SECURELY HOLDS HYDRATION TUBES WHILE ALLOWING EASY ACCESS.
-
DURABLE MATERIAL: MADE FROM STURDY ABS, BUILT TO LAST AND WITHSTAND DEFORMATION.

Osprey Hydraulics Bite Valve Replacement
- LEAK-PROOF ¼ TWIST SHUT-OFF FOR WORRY-FREE HYDRATION.
- PERFECTLY FITS OSPREY HYDRAULICS WATER RESERVOIRS.
- OPTIMIZED DESIGN FOR ULTIMATE EXPLORATION EFFICIENCY.
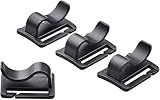
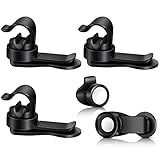
4pcs Black Water Bladder Tube Clips for Hydration Pack,Universal Hydration Pack Water Bladder Bag Beverage Tube Clip Outdoor Backpack Water Bladder Hose Hose Clip,Camping and Hiking Accessories
- UNIVERSAL CLIP FITS MOST HYDRATION TUBES AND BACKPACK STRAPS EASILY.
- DURABLE, WEATHER-RESISTANT MATERIALS ENSURE LONG-LASTING PERFORMANCE.
- QUICK SNAP-ON DESIGN ALLOWS FOR INSTANT ADJUSTMENTS ON-THE-GO.
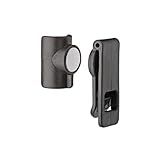
Source Tactical Gear Universal Magnetic Tube Holder Clip (Black)
- EFFORTLESS ATTACHMENT TO SHIRTS, STRAPS, AND MOLLE SETUPS.
- STRONG MAGNET ALLOWS SECURE GRIP AND QUICK RELEASE.
- COMPATIBLE WITH ALL SOURCE OUTDOORS HYDRATION SYSTEMS.
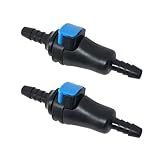
Quick Connect 2-Pack for Popular Hydration Bladders Reservoirs and Backpacks, Fits 1/4" Inner Dimension Tubing
-
SECURE & LEAK-FREE FIT FOR 1/4 ID TUBING ELEVATES HYDRATION ADVENTURES.
-
INCLUDES 2 CONNECTORS FOR CONVENIENT HYDRATION PACK CONNECTIONS.
-
AUTO SHUT-OFF FEATURE PREVENTS SPILLS, KEEPING YOUR SETUP MESS-FREE.
8 Pcs Set Reservoirs Backpack Accessories Hydration Bladder Cleaning Kit with Flexible Long Brush for Hose, Small Bite Valve and Big Brush, Drying Collapsible Bladder Frame, Carrying Pouch (Blue)
-
VERSATILE 10-IN-1 KIT: CLEANS BLADDERS, BOTTLES, AND TANKS EFFECTIVELY.
-
QUALITY MATERIALS: STURDY, SAFE BRUSHES ENSURE DAMAGE-FREE CLEANING.
-
IDEAL FOR OUTDOORS: RUST-FREE STAINLESS STEEL FOR LONG-LASTING USE.
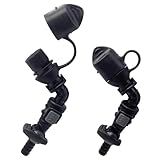
Osprey Hydraulics Hose Magnet Kit
- COMPACT SIZE: PERFECT FOR TIGHT SPACES AND EASY STORAGE.
- LIGHTWEIGHT DESIGN: EASY TO CARRY AND TRANSPORT ANYTIME, ANYWHERE.
- IDEAL DIMENSIONS: VERSATILE FIT FOR VARIOUS APPLICATIONS AND USES.
2 Pack Hydration Bags Bite Valve Mouthpiece Replacement for Cross Country Bladder Bag 45 Degree for Quick Acces & Easy Drinking Universal for Any Hydration Pack System
- HANDS-FREE HYDRATION WITH A SILICONE NOZZLE FOR EASY DRINKING.
- COMFORTABLE 45-DEGREE DESIGN FOR QUICK, EFFORTLESS SIPS.
- DUST COVER ENSURES CLEAN DRINKING, EVEN IN MUDDY CONDITIONS.
To attach a hydration pack to a backpack or gear vest, you will need the following steps:
- Choose a compatible hydration pack: Make sure the hydration pack you have or purchase is designed to be attached to a backpack or gear vest. Check if it has attachment points, clips, or loops that allow for secure mounting.
- Prepare the backpack or gear vest: Ensure your backpack or gear vest has appropriate attachment points or loops to secure the hydration pack. Look for loops, straps, or hooks near the back panel or shoulder straps.
- Position the hydration pack: Place the hydration pack near the back panel of the backpack or gear vest, typically between the shoulder blades. Make sure it is centered and positioned in a way that provides easy access to the drinking tube.
- Secure attachment points: If your hydration pack has attachment points or loops, utilize those to secure it to the backpack or gear vest. Attach the loops of the hydration pack through the loops or hooks of the backpack or gear vest. Make sure they are tightly secured to avoid any movement or shifting during use.
- Use additional straps or clips (if necessary): If your hydration pack or backpack does not have specific attachment points, you can still secure the hydration pack using additional straps or clips. Use durable and adjustable straps to loop through the shoulder straps or back panel of the backpack and connect them to the hydration pack. Tighten the straps to ensure a secure fit.
- Test the attachment: Once the hydration pack is attached, gently tug and shake it to ensure it is securely fastened to the backpack or gear vest. Verify that it is not loose or shifting.
- Route the drinking tube: With the hydration pack securely attached, route the drinking tube over your shoulder or alongside the backpack straps, depending on your preference. Make sure it is easily accessible for drinking and does not obstruct your movements.
Remember to familiarize yourself with the specific instructions provided by the manufacturer of your hydration pack and backpack or gear vest, as attachment methods may vary.
How to remove a hydration pack from a backpack without damaging the gear?
To remove a hydration pack from a backpack without damaging the gear, follow these steps:
- Locate the hydration pack compartment on your backpack. This is typically a separate space or pocket designed specifically to carry the hydration reservoir.
- Unzip or unfasten the compartment that holds the hydration pack. In some cases, you might need to loosen or unbuckle straps that secure it in place.
- Slowly and gently pull out the hydration pack from the compartment. Avoid pulling forcefully as it may damage the reservoir or the backpack.
- Once the hydration pack is out, disconnect the hose or tube from the backpack. Most hydration packs have a quick-release mechanism that allows you to easily separate the hose from the backpack connection.
- Carefully remove the hydration pack from its reservoir pocket, being cautious not to get any straps or buckles caught or tangled.
- If you find any clips or attachments securing the hydration pack to the backpack straps, detach them without using excessive force.
- Take a moment to inspect the gear for any signs of damage or wear and tear. If you notice any issues, address them accordingly.
Remember to be patient and gentle throughout the process to avoid damaging any of the gear.
What is a hydration pack and how does it work?
A hydration pack, also known as a hydration bladder or hydration system, is a type of backpack or bag that is designed to carry water or any other beverage for hydration during outdoor activities like hiking, cycling, running, or other sports.
It typically consists of a water reservoir or bladder, a drinking tube, and a bite valve. The reservoir is a flexible plastic bag that can hold a varying amount of liquid, usually ranging from 1 to 3 liters (or more). It is usually made of durable, leak-proof material to ensure the water stays secure.
The pack is worn on the back like a backpack, with shoulder straps and a chest strap to provide stability and ease of carrying. The drinking tube is connected to the bladder and runs from the bottom of the pack, up over the shoulder straps, and terminates with a mouthpiece or bite valve near the user's mouth.
To use the hydration pack, the user fills the water reservoir with their preferred beverage, ensuring it is sealed tightly to prevent any leaks. The drinking tube is then routed and secured along the shoulder straps using clips or straps provided by the pack. When the user wants to hydrate, they simply bite down on the valve, opening the flow of water, and suck on the mouthpiece to drink. This allows hands-free access to water while on the move, without the need to stop or use bottles.
The hydration pack provides a convenient, efficient, and easily accessible source of hydration during physical activities, ensuring the user stays hydrated without interrupting their rhythm or performance.
How to determine the right size hydration pack for your backpack or gear vest?
When determining the right size hydration pack for your backpack or gear vest, there are a few factors you should consider:
- Capacity: Consider how much water you will need to carry during your activities. Hydration packs typically range from 1.5 to 3 liters in capacity. If you are engaging in short activities or running, a smaller capacity pack may suffice. However, for longer or more intense activities, opt for a larger capacity to ensure you stay hydrated.
- Fit: Check the dimensions and measurements of your backpack or gear vest to determine the available space for a hydration pack. The pack should fit comfortably and securely within the designated pocket or compartment without adding unnecessary bulk or hindering your movements.
- Weight and Size Distribution: Be mindful of the weight and size distribution of the hydration pack within your backpack or gear vest. It's important to ensure that the pack doesn't cause an imbalance or affect the overall weight distribution of your gear, as this can impact your comfort and stability while engaging in activities.
- Activity Type: Different activities may necessitate specific hydration pack sizes. For example, if you are going on a hike or engaging in endurance activities, you may require a larger capacity hydration pack to sustain you throughout the duration of your outing.
- Personal Preference: Lastly, consider your personal preference and comfort. Some individuals prefer smaller, lightweight hydration packs, while others may prioritize larger capacities even if it means carrying additional weight. Choose a size that aligns with your personal preferences and requirements.
Always ensure that the hydration pack you choose is compatible with your backpack or gear vest and that it is easy to refill and clean. Consider trying different sizes to determine what works best for you before embarking on longer or more challenging activities.
How to attach a hydration pack to a backpack with multiple attachment points?
Attaching a hydration pack to a backpack with multiple attachment points can vary depending on the specific design of the pack and hydration system. However, the following general steps should help you accomplish this task:
- Prepare the hydration pack: Make sure the hydration pack is filled with water and the tube is properly connected to the bladder.
- Identify attachment points: Inspect your backpack to locate the multiple attachment points. These are often located on the shoulder straps or sides of the pack.
- Insert the hydration pack: Depending on the design of your backpack, you may need to slide the hydration pack into a dedicated hydration sleeve or compartment. If your backpack does not have a specific compartment, you can place the hydration pack flat against the back panel of the backpack.
- Secure the hydration pack: Use the attachment points on the backpack to secure the hydration pack in place. This may involve using clips, loops, or straps on the shoulder straps or sides of the pack. Follow the backpack manufacturer’s instructions for securing the hydration pack correctly.
- Run the tube: Once the hydration pack is securely attached, guide the tube of the hydration system along the shoulder strap(s) using any built-in loops or holders. If your backpack does not have specific loops, you can use small carabiners or Velcro straps to secure the tube in place.
- Adjust the tube length: Before your hike or activity, adjust the length of the tube according to your preference. Make sure it is long enough for easy access but not so long that it causes hindrance or discomfort.
- Test the setup: After attaching the hydration pack, check that the tube is properly seated in the pack and the bite valve is accessible. Ensure there are no leaks or loose connections.
Note: It's important to follow the specific instructions provided by the manufacturer for your backpack and hydration pack, as the attachment methods and points may differ.